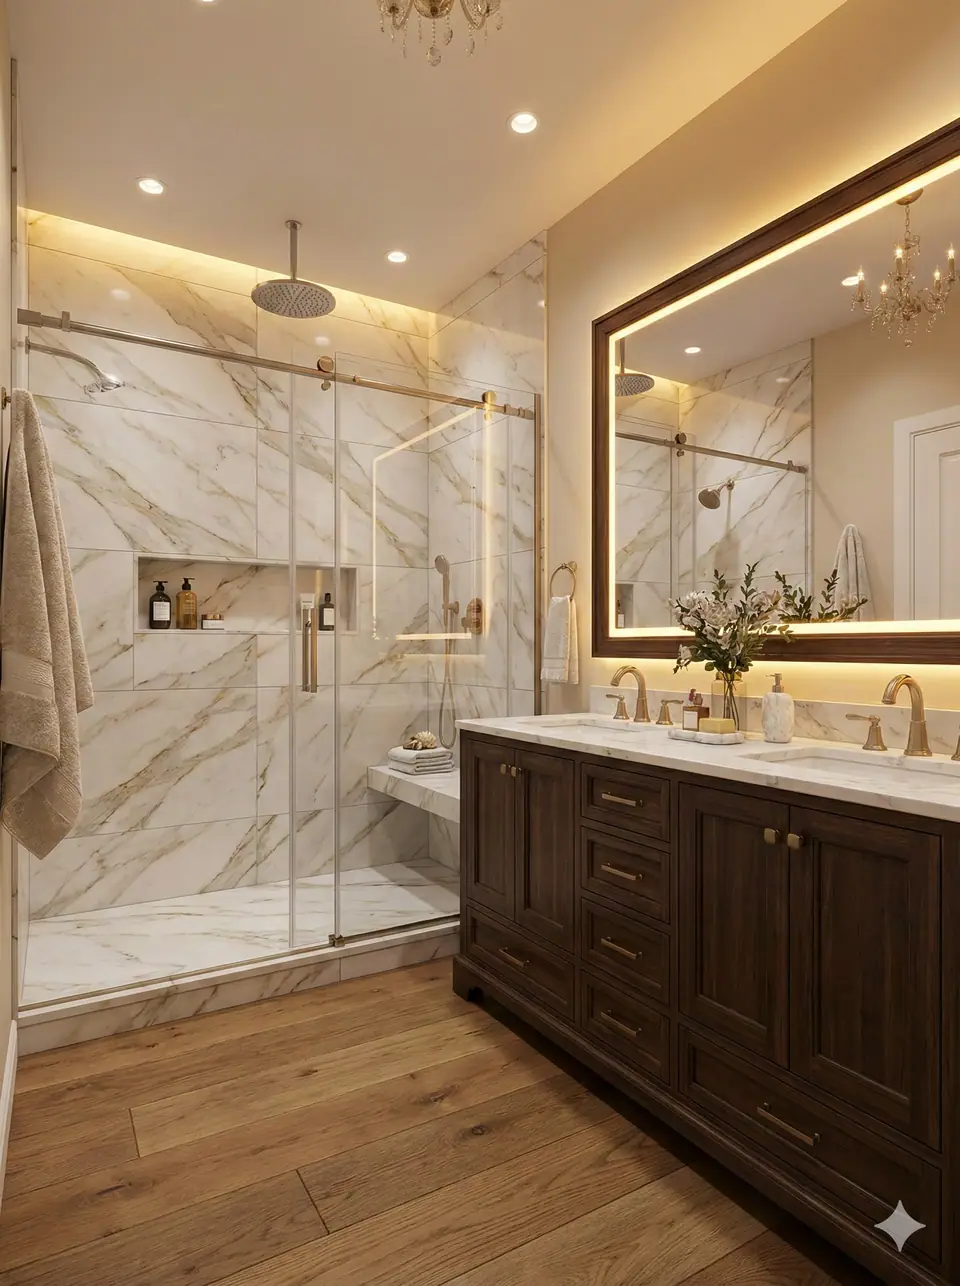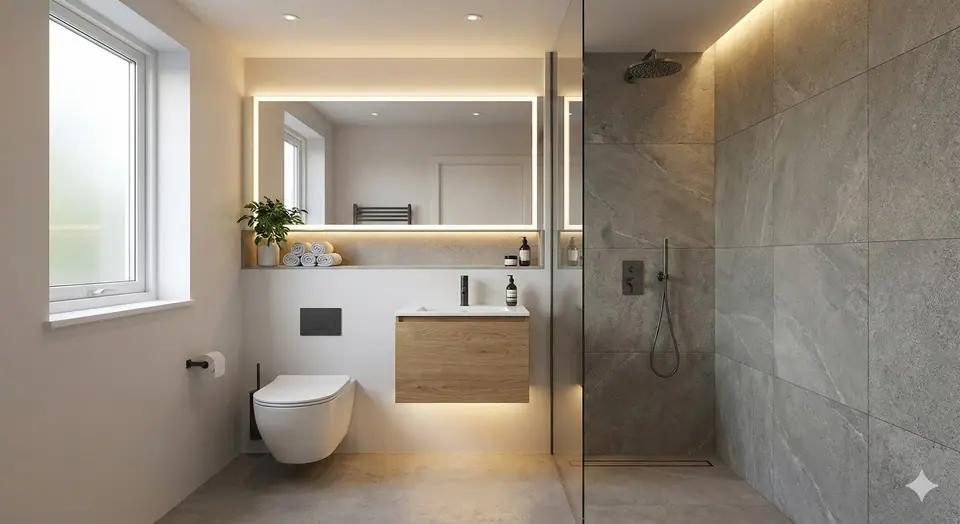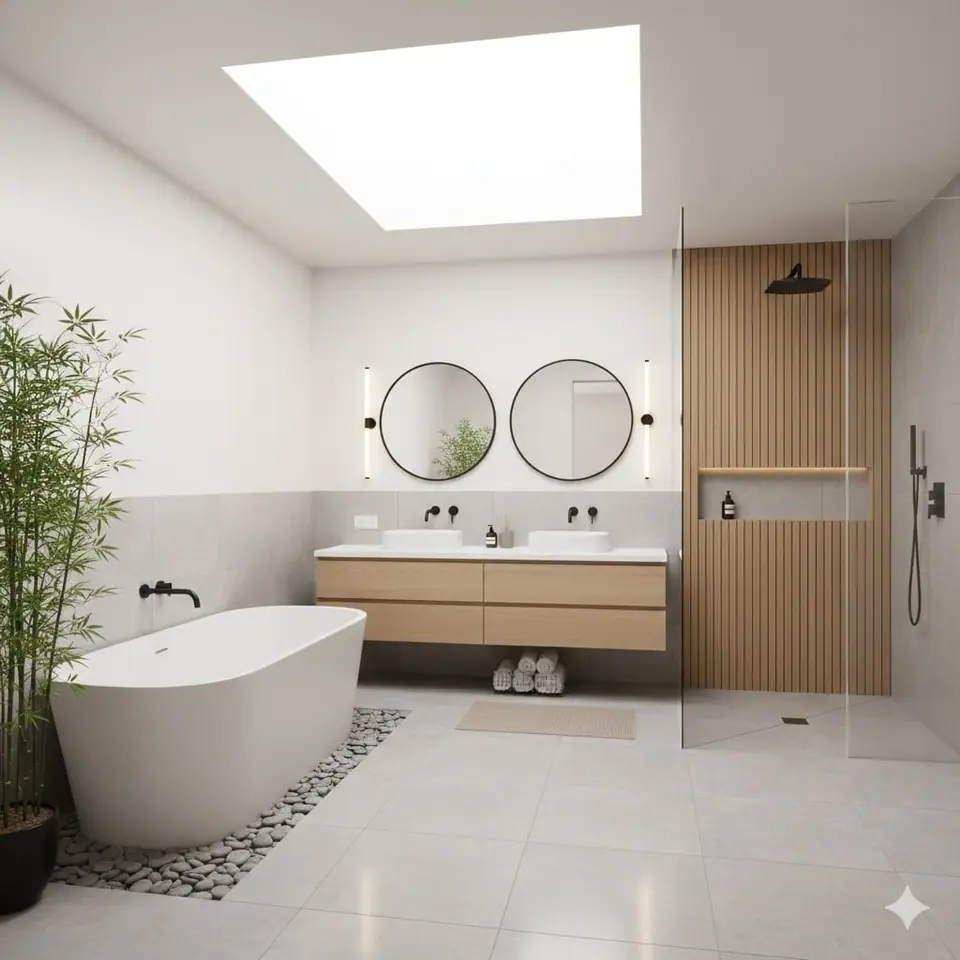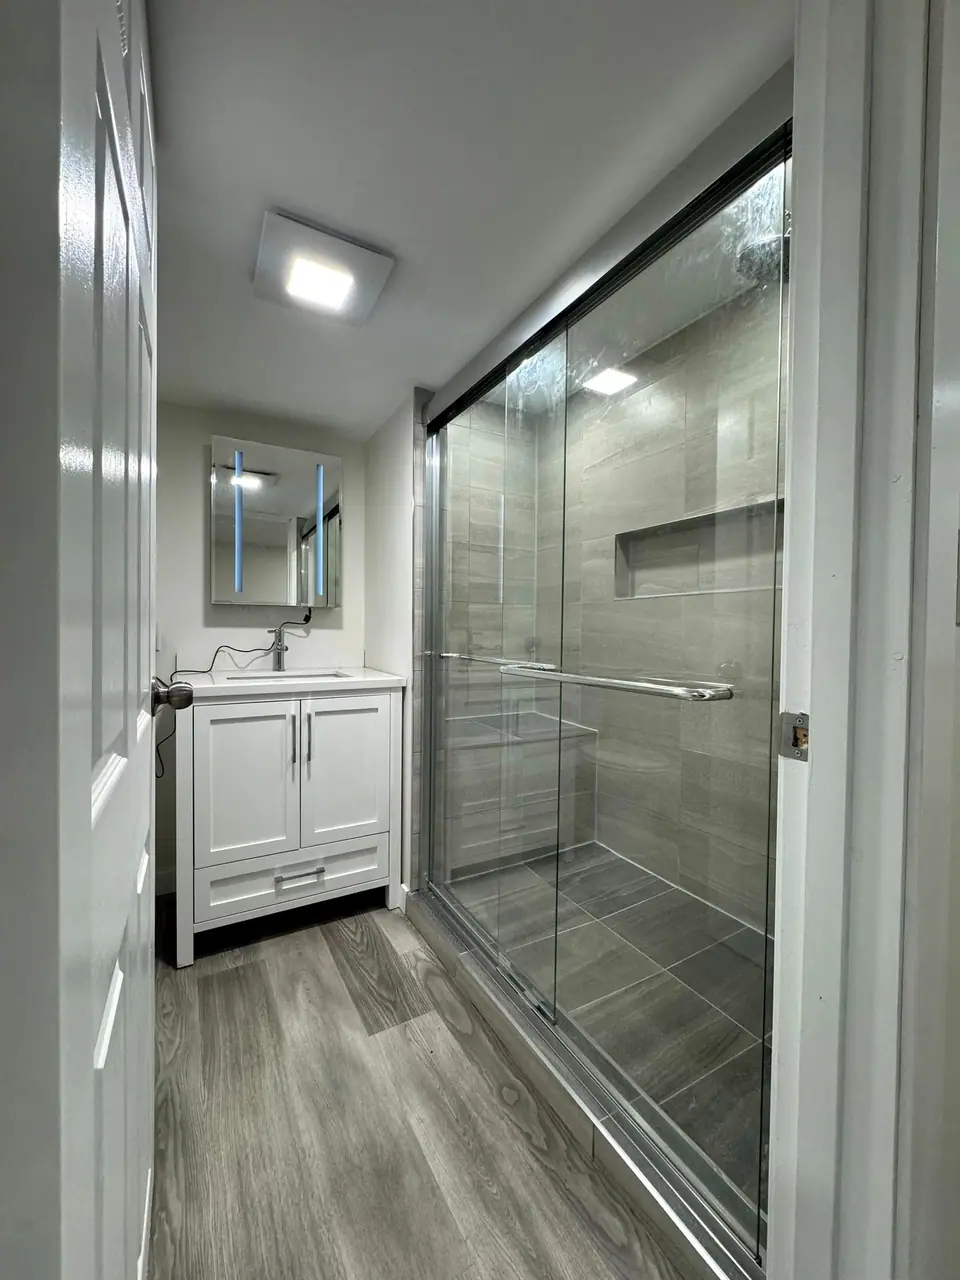
A curbless shower is the safest shower there is: nothing to step over, and a wheeled shower chair can roll straight in. It is also the least forgiving shower to build. Without a curb to hold water back, everything depends on the floor slope, the drain and the waterproofing. Here is how it should be done.
1. Make room for the slope
A normal shower sits on a curb, and its floor slopes down to the drain from there. A curbless shower has to start level with the bathroom floor and still slope to the drain. That means the shower floor sits lower than the rest of the room.
- Over wood joists, the subfloor in the shower area is lowered between or on top of the framing. That is structural work, so it is planned and approved before framing starts, never improvised on the day.
- Over a concrete slab, the slab is cut and recessed where the shower goes.
If someone offers a curbless shower without talking about the floor, ask how the water will stay in.
2. Slope to a linear drain
We slope the floor about 1/4 inch per foot toward the drain. That is enough for water to run away and gentle enough to stand or roll on.
A linear drain (a long, narrow channel) lets the whole floor slope one way. That has three benefits:
- no ridges or valleys underfoot or under wheels,
- large-format tile is possible, because the tile only bends in one plane,
- the drain can sit at the entry, catching water before it reaches the bathroom floor, or along the back wall.
3. The waterproofing standard
Every Zenith shower, in every price tier, is built the same way behind the tile:
- Cement backer board on the walls, screwed at the maker's spacing with taped seams. Never drywall in a shower.
- A bonded sheet membrane over the board and the floor: AlinO Gard or Schluter KERDI, one maker per wet area, lapped at every seam, with factory-made corners and seals around the valve and pipes. We do not rely on a painted-on liquid as the waterproofing.
- The membrane is bonded to the drain flange, and in a curbless bathroom the waterproofing continues across the bathroom floor and up the walls, so a splash past the shower has nowhere to go.
4. Flood test before tile
Before any tile goes on, we plug the drain and flood the shower floor, mark the water line and leave it for 24 hours. If the line has not moved, the membrane is sound. We photograph the start and the end.
5. Tile that grips
- Small mosaics or matte tile on the shower floor give more grip, and more grout lines help too. Check each tile's slip-resistance rating on its spec sheet.
- Contrast between the floor and the walls helps people see where the floor ends.
6. The details that make it accessible
- A fold-down seat and grab bars on solid blocking in the wall.
- Controls on the side wall near the entry, reachable from the seat, and a hand shower on a slide bar.
- A pressure-balance or thermostatic valve with the hot-water limit set, to prevent scalds.
- A fixed glass panel with an open entry, rather than a door to swing.
Is a curbless shower right for you?
If anyone in the home uses a walker or wheelchair, or you want a bathroom that will work for the next twenty years, usually yes. In some houses the framing makes a full recess hard; then a very low curb or a ramped entry may be the honest alternative, and we will show you why.
See our accessible renovations page for the rest of the room, or book a design consultation to see your own bathroom in 3D.